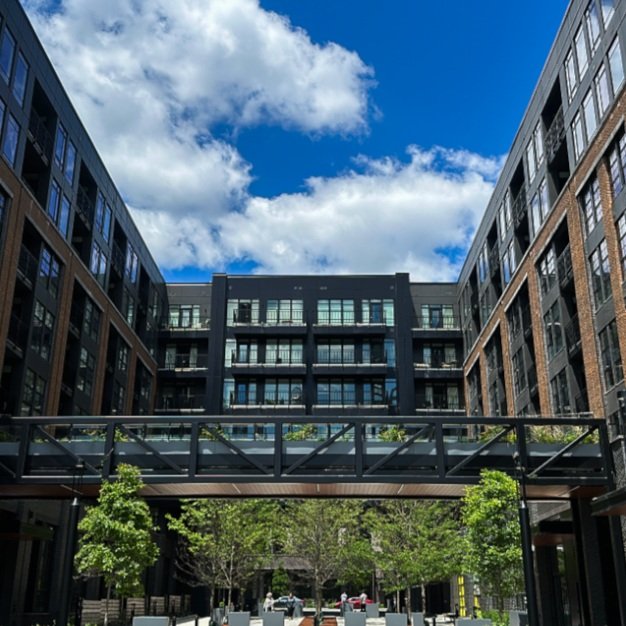
the signature edit by dvnquah
The Signature Edit is designed to enhance your photos with vibrant yet clean tones, natural contrast, and a refined finish that works beautifully across various lighting conditions. Whether you’re capturing portraits, lifestyle moments, or everyday content, this preset brings a cohesive and elevated visual style to your images.
Please remember to adjust settings such as exposure, white balance, and skin tones to suit your individual photo. Every image is different, and slight tweaks will help you achieve the best result.
How to Apply a DNG Preset in Lightroom Mobile
1. Download the DNG File(s)
After purchasing or receiving the preset, save the DNG file(s) to your phone. These often appear as a photo with no preview — that’s totally normal.
2. Open Lightroom Mobile
Launch the Lightroom app on your phone. If you haven’t already, download it from the App Store or Google Play and log in (free to use with an Adobe account).
3. Import the DNG Preset File
Tap the ‘+’ icon to create a new album or just go to ‘All Photos’
Tap the ‘Add Photos’ icon (image with a +)
Choose ‘From Files’ or ‘From Camera Roll’ and select the DNG file(s)
The DNG preset will appear as a blank image or with a preview — tap it to open
4. Create the Preset in Lightroom
Open the DNG image
Tap the three dots (…) in the top right corner
Select ‘Create Preset’
Give your preset a name
Choose a preset group or create a new one (e.g., “Dvnquah Presets”)
Tap ✔️ (checkmark) to save
5. Apply the Preset to Your Own Photos
Import the photo you want to edit
Scroll across the toolbar and tap ‘Presets’
Find the preset group you saved it under
Tap the preset you created to apply it
Adjust settings like exposure, white balance, and skin tones as needed to match your photo